

Comprehensive Guide to Solar Mounting System Installation
Time of Release : 2024-07-31
About the Author:
Welcome! I am honored to introduce our brand -- Xpower, the author behind this friendly guide to solar cell technologies. With over 15 years of experience in the solar photovoltaic (PV) industry, Xpower bring a wealth of knowledge and expertise to the table.
Xpower as a manufacturer and exporter in the field of solar energy, through years of hands-on experience, we have witnessed the evolution of solar cell technologies and the transformative impact they have had on the renewable energy landscape.
Installing a solar mounting system is a crucial step in setting up a solar photovoltaic (PV) system. Proper installation ensures optimal performance, longevity, and safety of the solar panels. In this guide, we will cover the installation process for various types of solar mounting systems, along with the tools required and best practices to follow.
Table of Contents
Types of Solar Mounting Systems
Solar mounting systems come in several types, each suited to different roof types and installation preferences:
Roof-Mounted Solar Systems:
Pitched Roof Systems: Commonly installed on residential roofs with angled slopes. They typically use roof hooks, rails, and clamps to secure solar panels.
Flat Roof Systems: Used for commercial or residential buildings with flat roofs. These systems use ballast, concrete blocks, or mechanical attachments to secure solar panels.
Ground-Mounted Solar Systems:
Ideal for large-scale solar installations where panels are mounted on the ground using poles or frames. These systems offer flexibility in panel orientation and tilt angle adjustment.
Tools Required for Installation
Before beginning the installation, ensure you have the following tools and equipment ready:
Power tools: Cordless drill/driver, impact driver, and reciprocating saw.
Hand tools: Screwdrivers, wrenches, pliers, and a utility knife.
Measuring tools: Tape measure, level, and angle finder.
Safety equipment: Gloves, safety glasses, and a harness if working at heights.
Installation Process
1. Planning and Preparation
Site Assessment: Evaluate the roof or ground area for shading, structural integrity, and optimal orientation (south-facing for maximum sunlight exposure in the Northern Hemisphere).
Design Layout: Determine the layout of solar panels, taking into account spacing between panels, access pathways, and wiring routes.
2. Roof-Mounted Systems Installation
a. Pitched Roof Systems:
Attach Roof Hooks: Secure roof hooks to rafters or roof beams using lag bolts. Ensure hooks are properly aligned and spaced according to panel layout.
Install Solar Panel Mounting Rails: Attach aluminum rails horizontally across the roof hooks. Use end and mid clamps to secure solar panels to the rails.
Panel Installation: Mount solar panels onto the rails and secure them with clamps or solar panel brackets. Tighten all fasteners to manufacturer specifications.
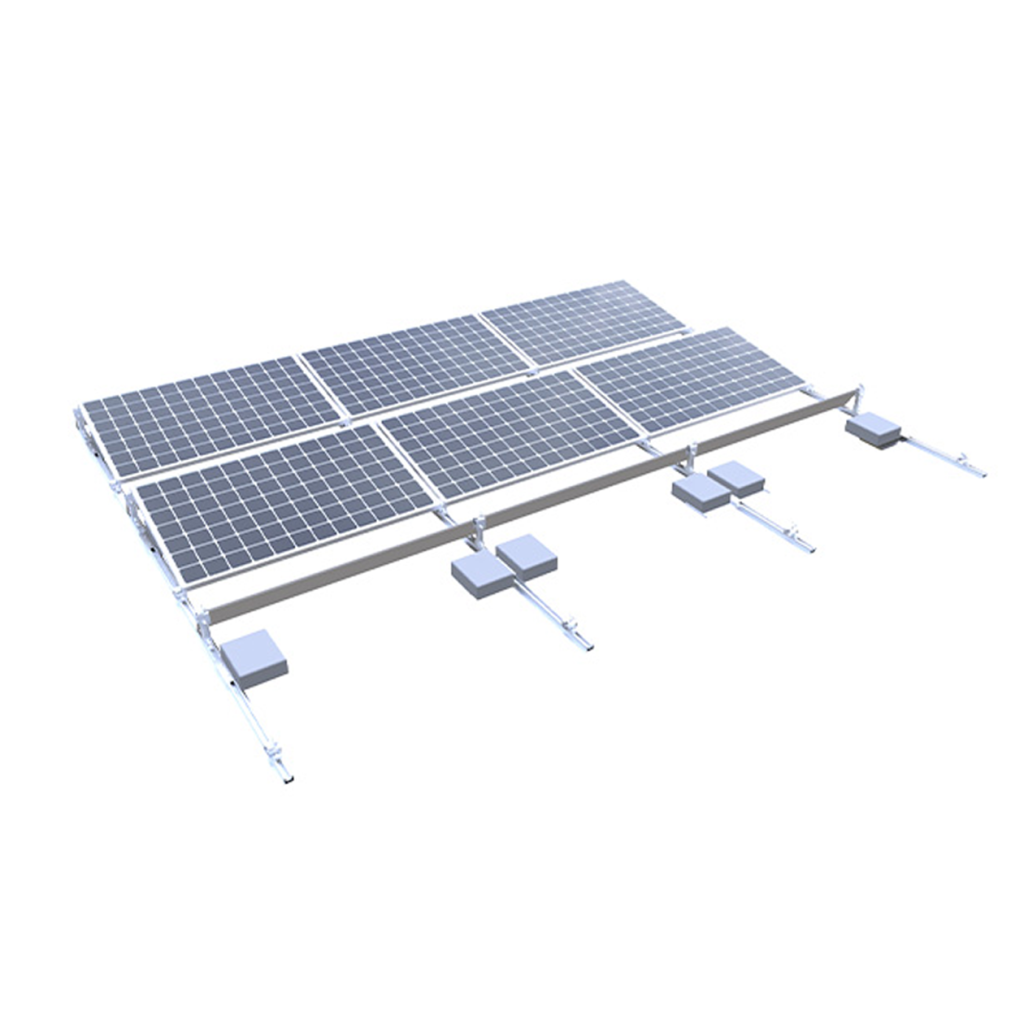
b. Flat Roof Systems:
Position Mounting Frames: Place ballast blocks or mechanical mounts on the roof surface. Ensure frames are positioned to maximize solar exposure and minimize shading.
Mount Solar Panels: Secure panels onto mounting frames using ballast, concrete blocks, or mechanical attachments. Ensure proper spacing and alignment of panels.
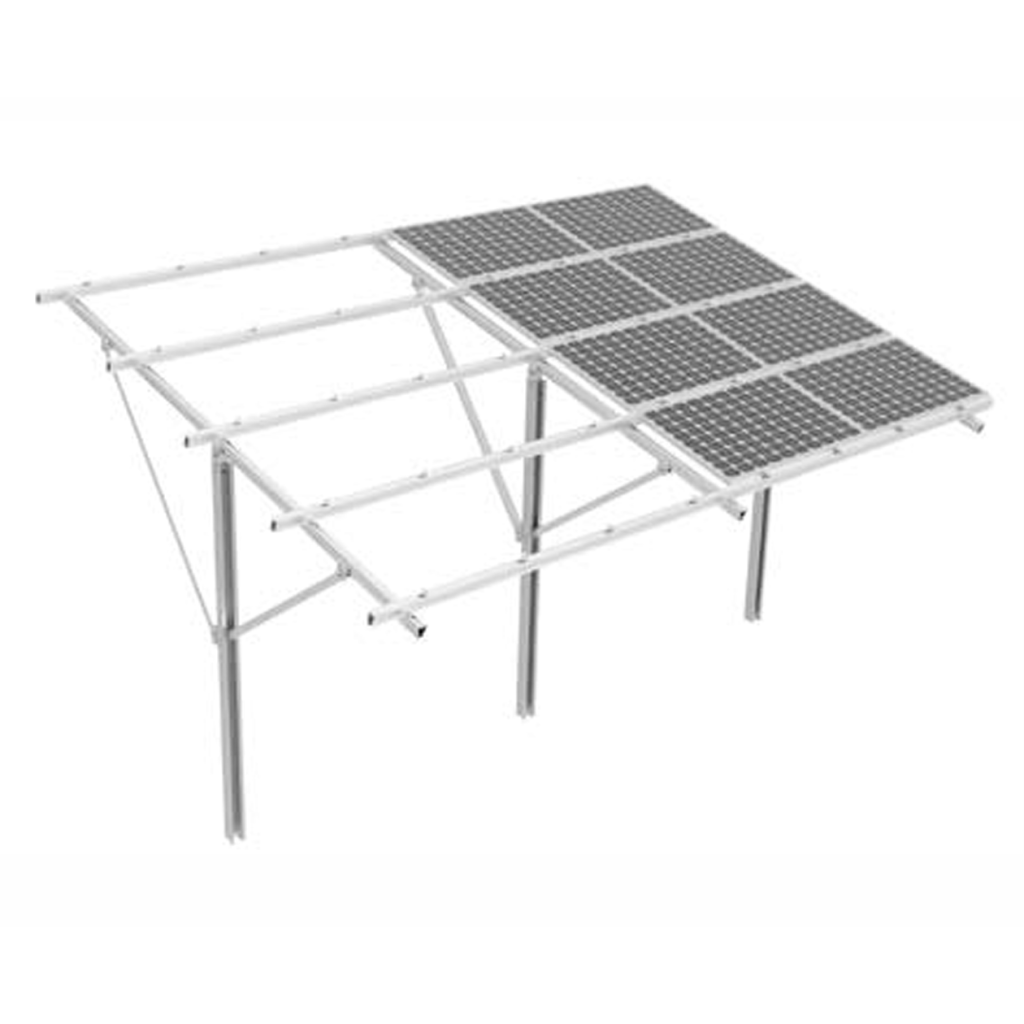
3. Ground-Mounted Systems Installation
Prepare Foundation: Dig foundation holes or trenches for mounting poles or frames. Ensure the foundation is level and stable.
Assemble Mounting Structure: Construct mounting frames or poles according to manufacturer instructions. Ensure frames are securely anchored to the foundation.
Install Panels: Attach solar panels to the mounting structure using bolts, solar panel brackets, or clamps. Adjust panel tilt angle if necessary for optimal sunlight exposure.
4. Electrical Wiring
Connect Panels: Connect paneles solares in series or parallel configurations according to system design and voltage requirements.
Install Inverter: Mount the solar inverter near the main electrical panel and connect it to the solar array and utility grid (if applicable).
Grounding: Ensure proper grounding of the entire solar PV system to prevent electrical hazards.
5. Testing and Commissioning
System Testing: Conduct electrical tests to ensure proper voltage, current, and grounding.
Commissioning: Activate the solar PV system and monitor its performance to verify correct operation.
Documentation: Maintain records of installation details, warranties, and system specifications for future reference.
Best Practices for Installation
Follow Manufacturer Guidelines: Adhere to manufacturer instructions and specifications for all components and installation methods.
Safety First: Use proper safety equipment and procedures when working at heights or with electrical components.
Quality Assurance: Inspect all components for defects or damage before installation to ensure long-term reliability.
Compliance: Verify compliance with local building codes, zoning regulations, and utility requirements.
Conclusión
Proper installation of a solar mounting system is critical to the success of a solar PV project. By following this comprehensive guide, including selecting the right tools, following best practices, and adhering to safety protocols, you can ensure the efficient and effective installation of solar panels. Whether it's a roof-mounted or ground-mounted system, meticulous planning and execution will maximize the performance and longevity of your solar PV installation.
By integrating these practices into your installation process, you can contribute to a sustainable energy future while enjoying the benefits of renewable solar energy.